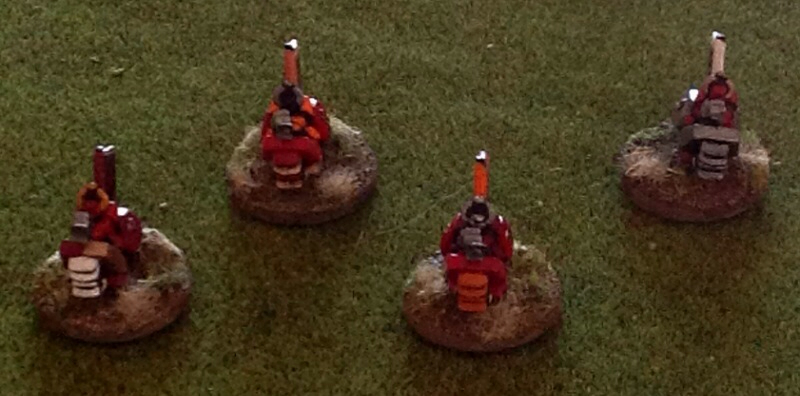
Space Marines
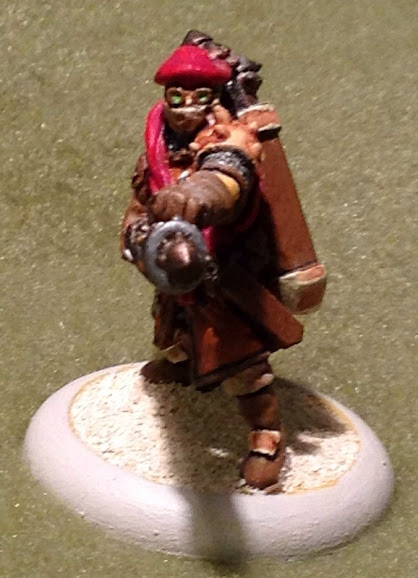
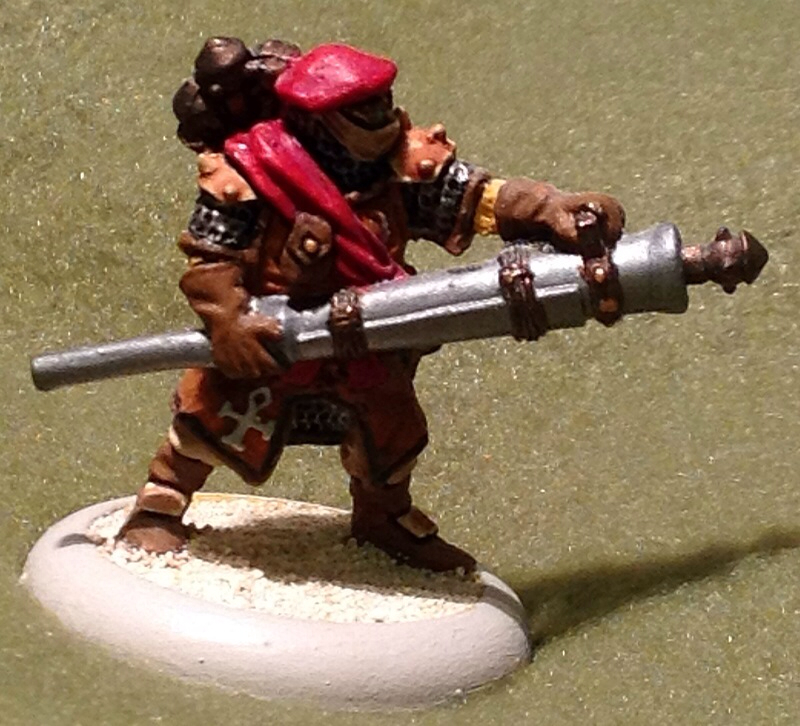
Space Marine Sergeant:
Armor 3+, Bolter (AP 5, L, +3, +1, +0), Power Fist (AP 2)
Q 3+, C 3, Leader
Space Marines x 3:
Armor 3+, Bolter (AP 5, L, +3, +1, +0), Bolt Pistol (AP 5, S, +3, +1, +0), Frag Grenade (AP -, M, +1, S burst radius), Krak Grenade (AP 4, M, +4, no burst radius)
Q 3+, C 3
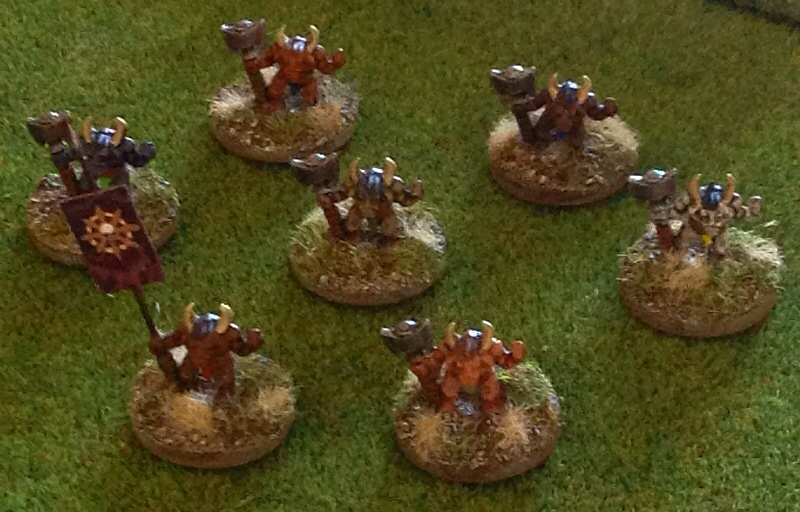
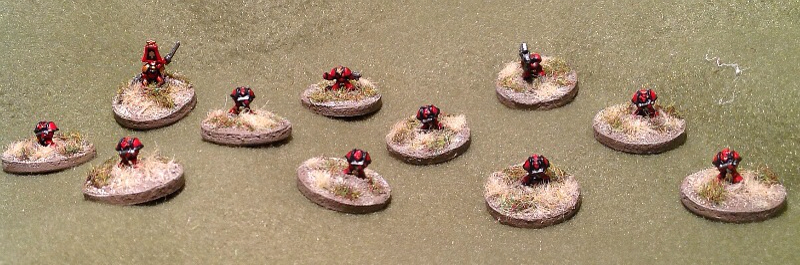
Tau
Fire Warrior Team Leader Shas'ui:
Armor 4+, Pulse Rifle (AP 5, L, +4, +3, +2), Photon Grenades (AP -, M, +4, S burst radius, special), Bonding Knife (acts as Flag Bearer without encumbrance)
Q 3+, C 2, Weak (-1 C in close combat), Leader
Fire Warriors x 5:
Armor 4+, Pulse Rifle (AP 5, L, +4, +3, +2), Photon Grenades (AP -, M, +4, S burst radius, special)
Q 4+, C 2, Weak (-1 C in close combat)
Photon Grenades cannot kill their opponents, but if they score a x2 or more combat result the target is knocked down and stunned (2 actions to recover from stunning and 1 action to stand up). No armor save is allowed.
Deployment

This scenario is really a simple meeting engagement, so attacking and defending only refers to which side will get to select their baseline (the Tau did).
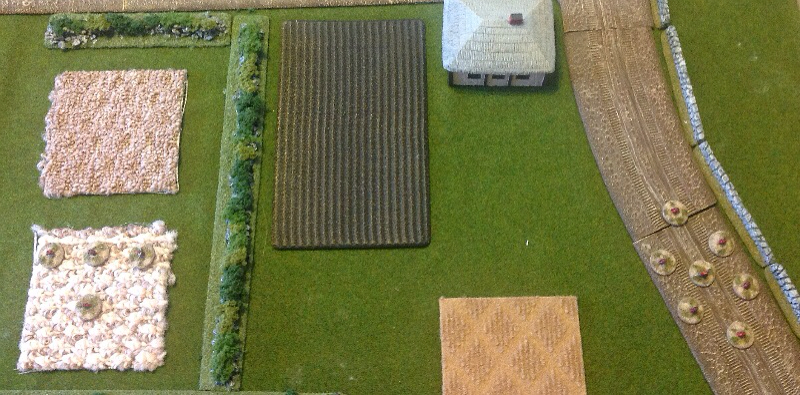
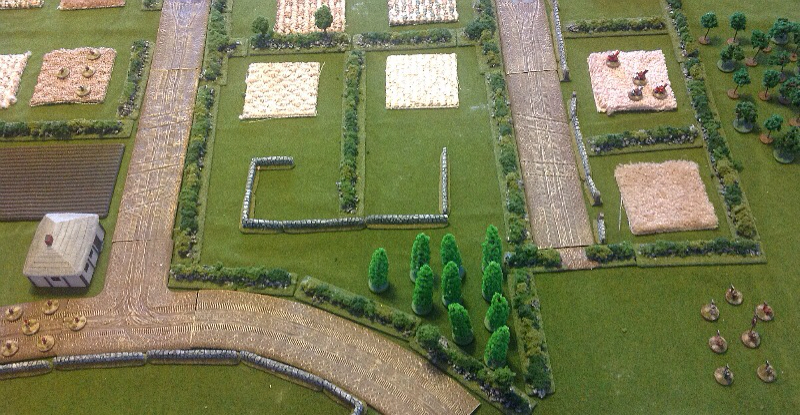
The hills are made from ½" particle board. I had the local DIY shop use color matching to match the paint against my cloth (which is not the one used, but rather the one at the underneath, barely showing at the top of this photo). Pretty good, but a little off.
I use my 6mm trees as bushes and my 25mm trees as trees (albeit thin ones). I am playing as each tree and bush is "as is", so they are not to be moved around. Bushes can be moved over – as can trees, it represents brushing past them – but it slows you down by one stick (i.e. a Medium move becomes a Short move). In this game I made sure I spaced everything enough so that fat fingers could move troops around easily enough without moving the pieces too much.

One change from the Song of Drums and Shakos (SDS) rules – taken from Flying Lead (FL) – is that a group constitutes figures within 1S (short-hand for 1 Short stick in distance) of one another. Only one figure in the squad must be within 1L of the leader to get the group order, but each figure must be within 1L in order to get the +1 Q (short-hand for +1 to their Quality roll) for activation. And that is my plan: keep the leader within 1L of everyone, and within 1S of at least one other squad member for as long as possible.

As the Marines are all Q 3+ (meaning they activate on a 3 or more, unless other modifiers come into play) they activate on a 2+ if they are within 1L of the Sergeant. So rather than using group orders, I am going to push the Marines with three dice each turn if they are within 1L and then roll the Sergeant last (with three dice) and try and ensure he stays within 1L of as many Marines as possible.
So this battle will be one of quantity using group orders versus quality using individual orders. (Personally, I always like the latter.)

Movement on both sides, but the Marines come out a little better. They are formed in echelon with the point Marine heading into the underbrush.
Ultimately the question is: who will gain the cover of the hill first? Given that the Tau move first…
Note that the overhead photos will all be shown from the South (Space Marine) side.

Turn 2
The Tau reach the central hill with the Marines in sight, but not enough actions to take shots. The second line of Tau prepare grenades, anticipating the Marines will simply charge into hand-to-hand, where the Tau are the weakest.
Rule: the first contour of a hill does not reduce movement.The Marines open fire, knocking down one Tau (armor save on a kill reduces it to a knock down), while the leftmost attempts to flank the position.
Rule: one contour between you and the firer provides you with cover. If your figure is against the contour your opponent does not get cover unless also against the contour.
Rule: two contours between you and the firer means you are completely concealed.
Rule: roll armor save for kills (only). Save indicates the result is changed to a knock down (two actions to get up). For a Gruesome Kill the armor save lowers it to a kill, unless you roll a natural '6', in which case it lowers it to a knock down.Note that the white cotton balls represent a figure firing and generally "points" towards the figure it was firing at. It serves no purpose other than as an indicator for the photo.

Turn 3
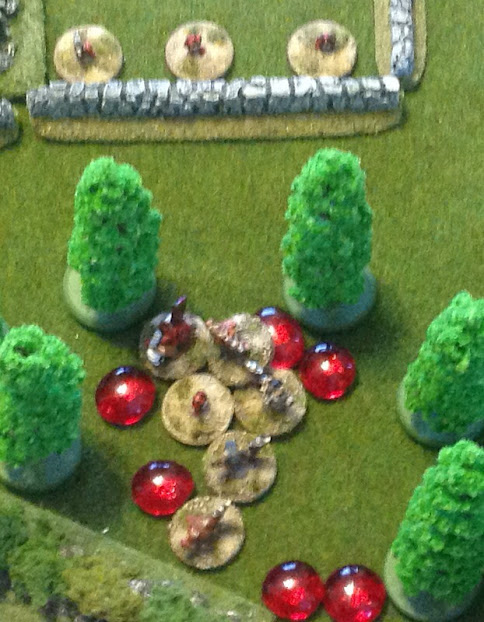
The Tau turn is ineffectual, but the grenadiers are on overwatch. (Their overwatch points are indicated with a blue marker in the photo.)
Rule: overwatch costs 1 action to place a marker within LOS. Any target moving within S of the marker can be shot at -1. Similar to Flying Lead's overwatch rule, but costs 1 action instead of 2.One Marine flanks the hill on the left and cuts loose with a mighty burst, scoring a gruesome kill, which the armor did not save!
The Sergeant turns over on two dice, so everyone else does nothing. (I am not quite sure why I rolled for the leader instead of the troops. It was not according to my plan, but sometimes that is just what happens in the heat of the moment!)

Turn 4
The Tau grenadier moves forward and tosses the Photon grenade at the Marine in the bushes, knocking him down and stunning him. Two Tau score Lethal hits on the downed Marine, but his armor saves him both times. The third Tau rifle knocks down a Marine with his fire. The Team Leader fires at the flanking Marine, but fails to score a hit.
The stunned Marine shakes off his stupor and stands up (3 actions), while the one knocked down also regains his feet. The Sergeant (shown in the photo to the right) charges the Tau grenadier (3 actions), but actually draws in combat!


Turn 5
The Tau rifle on the hill, seeing he is in trouble on his right flank, turns and shoots an aimed shot at the Marine, scoring a kill, but not good enough as the Marine's armor saves him. The Team Leader also takes an aimed shot at the now downed Marine, also scoring a hit (which is Lethal as the Marine is on the ground) but again the Marine makes an armor save!
The Tau in close combat turns over, so the last rifle gets no action! Probably bad timing on that.
The Marine Sergeant scores a gruesome kill with his powerful blow, and as the power fist has a high AP value the Tau gets no armor save.
The add insult to injury, the Marine behind the bush charges up the hill and cuts down another Tau with close range Bolter fire.
Time for a morale check! Both Tau fail two of three dice, so we draw a curtain to this skirmish.

Aftermath
That was actually fun. Although I was still working out a few rules in my head, what I like with my skirmish games are giving player choices and watching tactics come out in play. In this case the Marines flanking the Tau in order to remove the benefits of cover was the right tactic and worked well.
I intentionally played the Tau and the Marines with a different style. The Tau very much used group orders while the Marines rolled for each figure individually, relying on their high Quality. The typical turn found the Tau rolling two dice for the leader, using one order to give the group an order, which then rolled three dice for activation. It worked for awhile, but as usually happens, the leader falls behind.
The Marines, on the other hand, required a 2+ for those within the Leader's command range, so they rolled three dice every turn with the Sergeant rolling his three dice last. Only until the flanker got out of command range was there some decision on what order to roll and whether to roll less than three dice.
Armor is tough, but in 40K it is supposed to be. Although I kept cursing the Marine's saves, that what happens every so often so it did not bother me here.
I probably need to refine the rules a little, but it seems pretty clear that using Flying Lead as the basis for the SBC variant works better than SDS. I just need to commit a little more work on the stats. I still believe it is better to convert 40K stats to SBC stats and special rules, but use straight 40K values for the points system, than to use SDS or FL points values. The latter could easily change the dynamic between army lists, thus changing the flavor, something that seems to happen in In the Emperor's Name (ITEN).
I will have to get with Andrea of Ganesha Games and see what is an acceptable way of recording the variant that neither gets him in GW IP hot water, yet allows him to sell more copies of Flying Lead.
It was definitely fun blowing the dust off of my 40K figures and using my new hills. I have definitely got to try this one again soon.